Website
I wanted a lightweight website to document personal projects and capture various technical notes. Part of the setup would involve moving some content I had previously published on a Wordpress blog (which I never enjoyed working with, due to Wordpress tooling).
The site should ideally meet certain criteria:
- Support writing new content in a standard, portable format such as Markdown
- Have its contents managed as code under version control
- Support continuous deployment
- Support local testing and review
- Free or very cheap hosting
Based on these criteria, I selected the following set of tools for this site:
| Type | Tool | Comments |
|---|---|---|
| Source Code Management | GitLab | Generally my first choice of source code management system, which also provides good CI/CD services and tooling. |
| Site | MkDocs-Material | MkDocs enables writing content in Markdown and builds a static site that can be hosted on pretty much any web server. The Material design provides a simple, elegant interface free from clutter with good customization options. |
| Build, Hosting | Netlify | Netlify ticks all my boxes for hosting, being able to pull and build a site directly from a git repo, automatic provisioning of SSL/TLS certificates and provides a generous free tier. |
Project Setup
First, an empty project (e.g. site) is set up on GitLab and cloned to the local machine:
cd ~/dev/
git clone git@gitlab.com:<username>/site.git
...
cd site
Since mkdocs is based on Python, a Python environment is needed for local development and testing. To avoid messing with the system-wide installation, a virtual environment is set up using venv:
/usr/local/bin/python3 -m venv env
echo "env" > .gitignore
Next, the dependencies are defined in a pip requirements file - which is used both for local development in the virtual environment, but also by the build server. For a simple site without plugins, it is sufficient to include mkdocs-material. It is generally recommended to pin the version number to avoid unexpected surprises. A runtime.txt file is also provided to instruct Netlify to run python 3.x instead of 2.7.
echo "mkdocs-material==5.5.0" > requirements.txt
echo "3.7" > runtime.txt
Next, the virtual environment can be activated and dependencies installed:
. env/bin/activate
(env) pip install wheel
(env) pip install -r requirements.txt
Collecting mkdocs-material==5.5.0
  Downloading mkdocs_material-5.5.0-py2.py3-none-any.whl (3.8 MB)
...
Successfully built livereload tornado PyYAML future nltk regex
Installing collected packages: Pygments, markdown, pymdown-extensions, six, tornado, livereload, click, MarkupSafe, Jinja2, future, joblib, regex, tqdm, nltk, lunr, PyYAML, mkdocs, mkdocs-material-extensions, mkdocs-material
Successfully installed Jinja2-2.11.2 MarkupSafe-1.1.1 PyYAML-5.3.1 Pygments-2.6.1 click-7.1.2 future-0.18.2 joblib-0.16.0 livereload-2.6.2 lunr-0.5.8 markdown-3.2.2 mkdocs-1.1.2 mkdocs-material-5.5.0 mkdocs-material-extensions-1.0 nltk-3.5 pymdown-extensions-7.1 regex-2020.7.14 six-1.15.0 tornado-6.0.4 tqdm-4.48.0
At this point, a sample site can be created and tested using the mkdocs new and serve commands:
(env)  mkdocs new .
INFO    -  Writing config file: ./mkdocs.yml
INFO    -  Writing initial docs: ./docs/index.md
(env)  mkdocs serve
INFO    -  Building documentation...
INFO    -  Cleaning site directory
INFO    -  Documentation built in 0.09 seconds
[I 200802 10:54:59 server:334] Serving on http://127.0.0.1:8000
INFO    -  Serving on http://127.0.0.1:8000
[I 200802 10:54:59 handlers:62] Start watching changes
INFO    -  Start watching changes
[I 200802 10:54:59 handlers:64] Start detecting changes
INFO    -  Start detecting changes
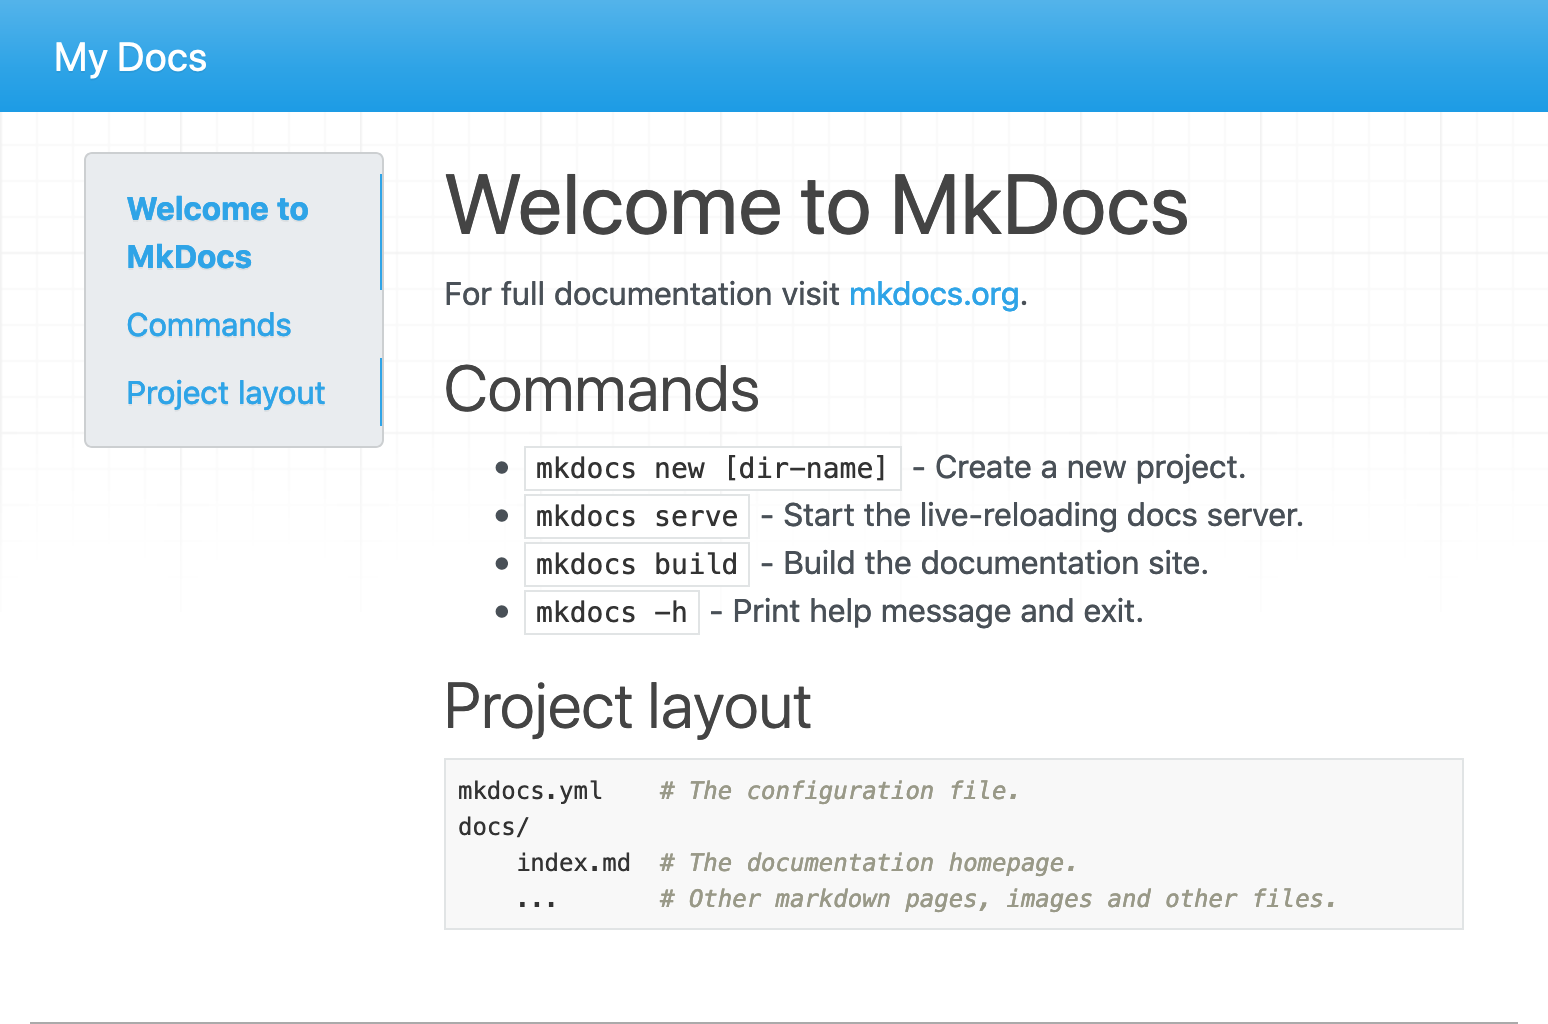
The new command creates a new project with a default mkdocs.yml file, which is used to configure settings for the site, and an index.md which is the main page for the site. Browsing to http://127.0.0.1:8000 should present a site similar to the following:
The material theme is not automatically loaded, but this is easily configured in mkdocs.yml by adding entries similar to the following:
theme:
  name: "material"
  palette:
    primary: grey
    accent: green
The site should detect the change and automatically reload:
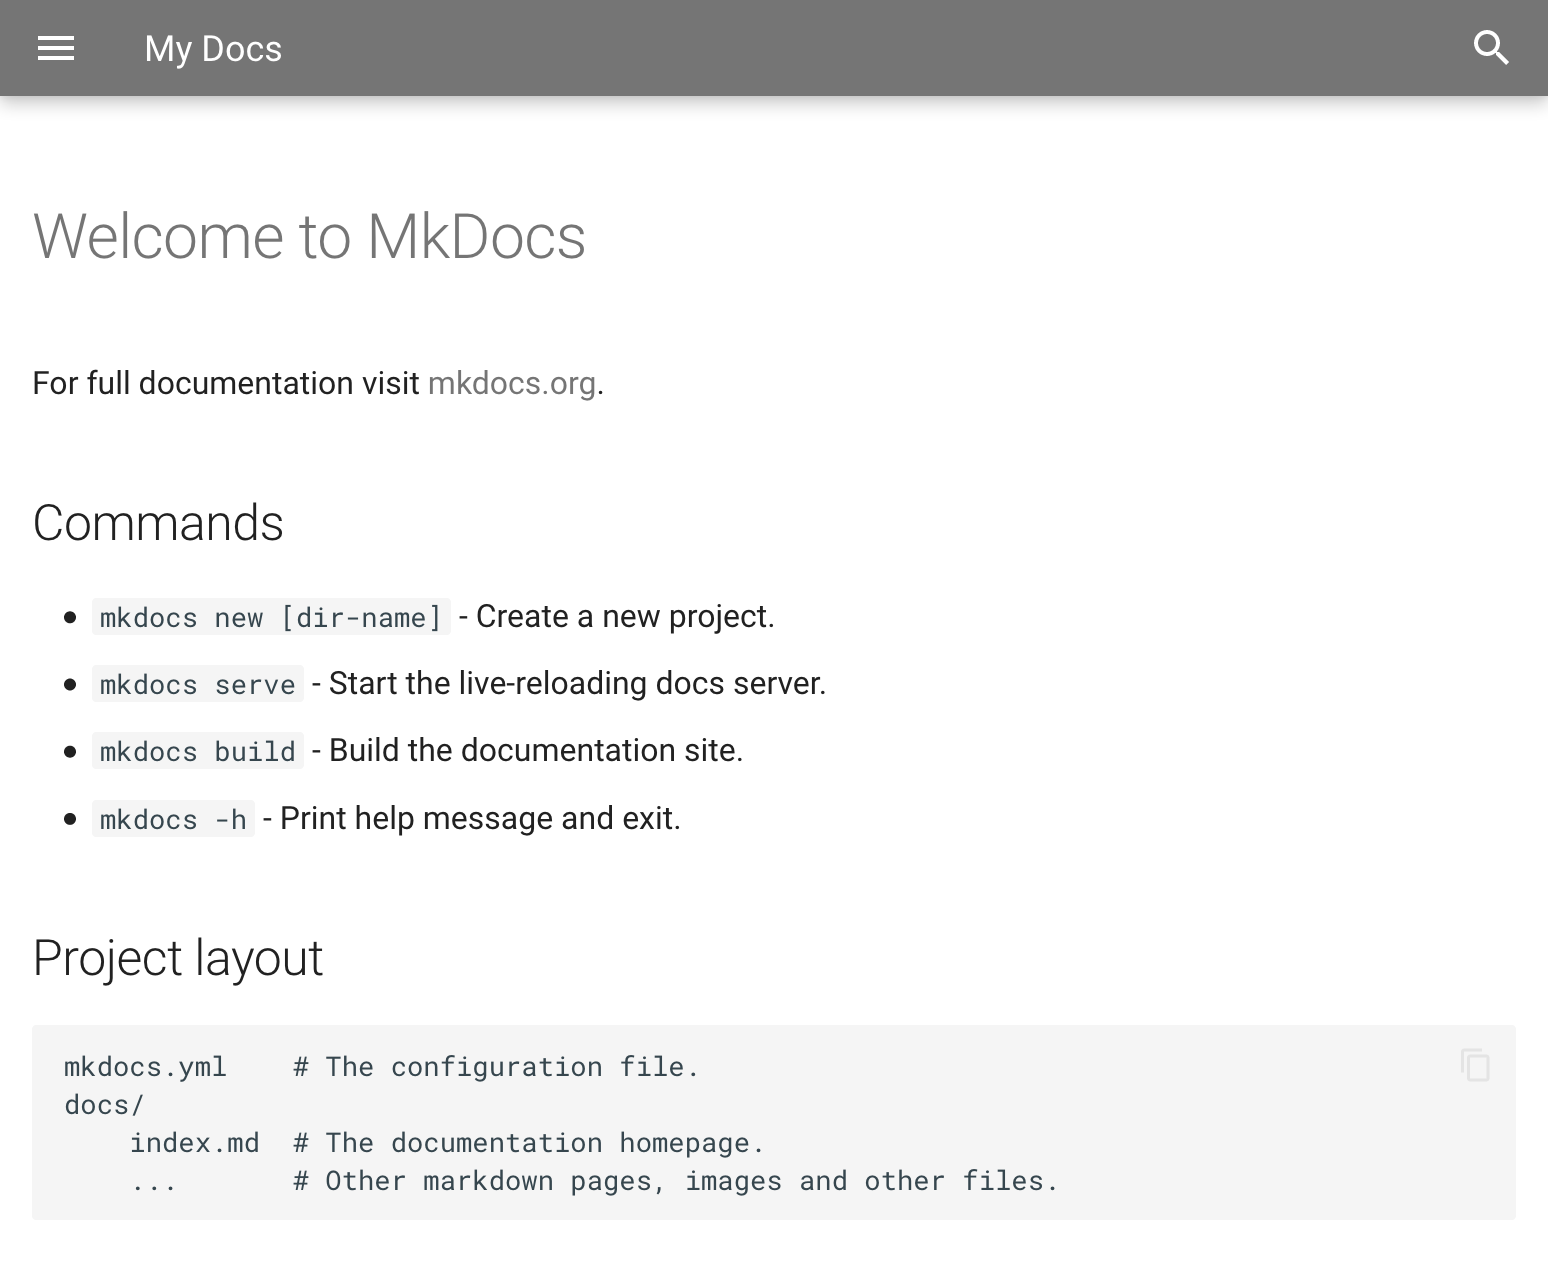
Making changes to any files when running in this mode will automatically reload the site. As a result, using mkdocs serve is all that's needed to test the site in the local development environment before pushing any changes.
At this point, the process can be stopped (CTRL+C) and add another entry is added to the .gitignore file to avoid publishing the built site (generated from mkdocs build command) to source code management:
^C[I 200802 11:14:53 server:355] Shutting down...
INFO    -  Shutting down...
echo "site" >> .gitignore
Stage any changes, commit and push back to source control:
git add .
git commit -m "Project setup"
...
 5 files changed, 28 insertions(+)
 create mode 100644 .gitignore
 create mode 100644 docs/index.md
 create mode 100644 mkdocs.yml
 create mode 100644 requirements.txt
 create mode 100644 runtime.txt
git push
...
Netlify
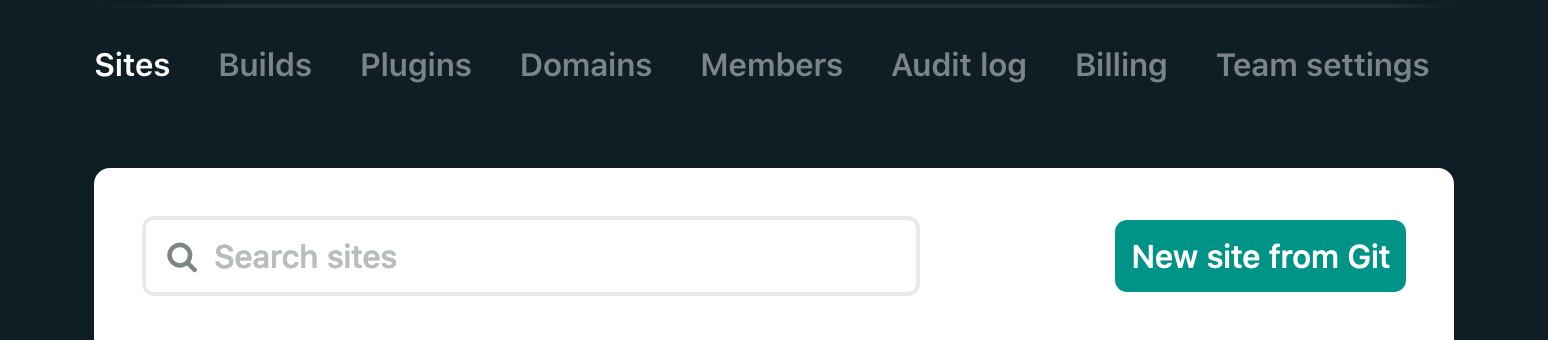
Setting up a new project on Netflify is very straight forward. After signing in to the service (e.g. using a GitLab account) simply select New site from Git:
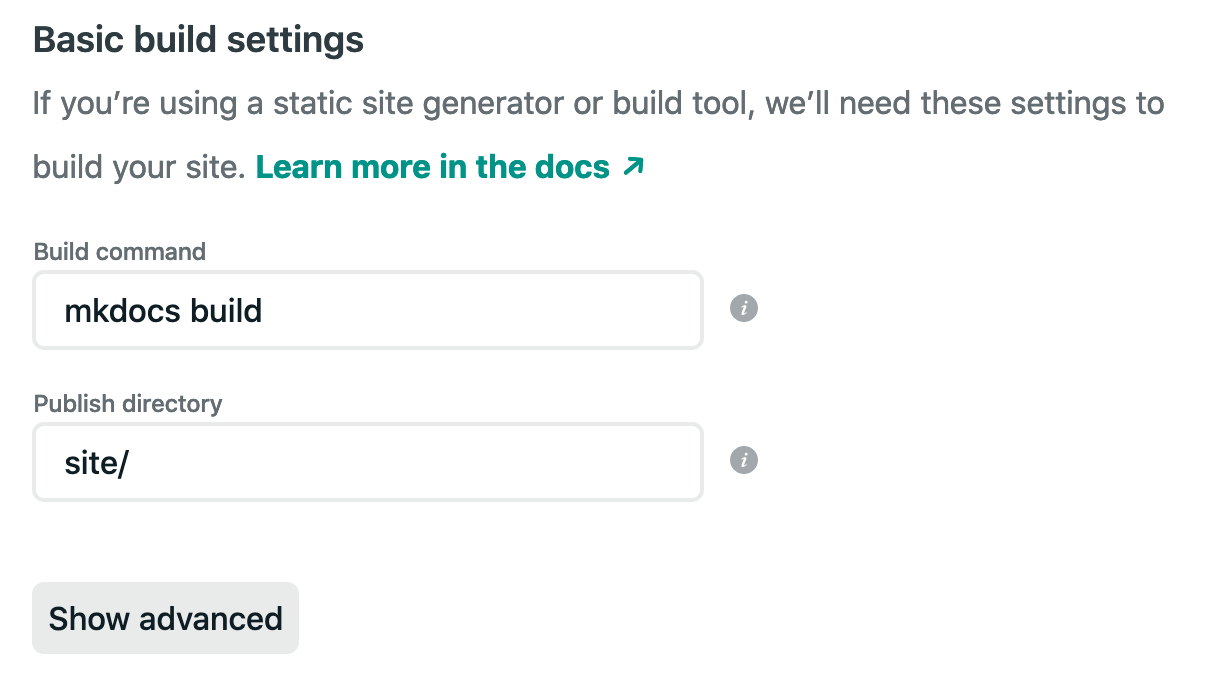
Select the provider and repository to deploy. In the Basic build settings section, ensure mkdocs build is defined as the build command (this should be the default):
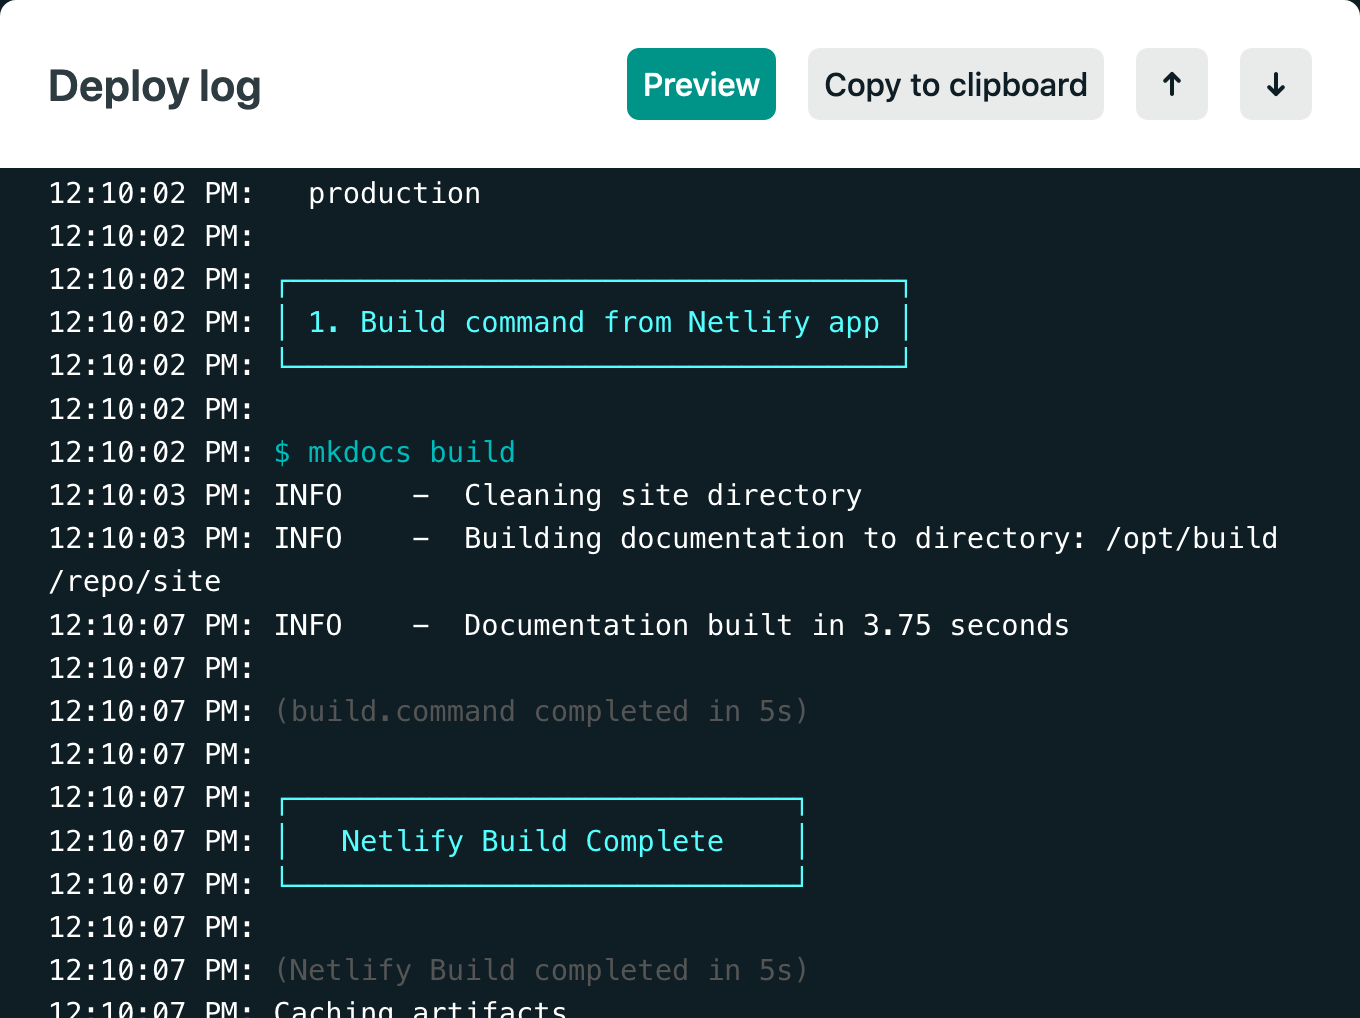
When pressing Deploy Site a new build should be triggered and the progress can be reviewed in the deployment log, which should be similar to the below:
After the site has been deployed, settings such as the site name (DNS) and certificates can be configured.
Deploying Updates
Now that the project is set up, deploying new changes to the site is really easy. The development cycle looks as follows:
git pullto download most recent build- Add new content or modify settings
- Running
mkdocs servelocally in the virtual environment to review any changes git committo save the changes- and finally
git pushto trigger an automatic deployment